I. Indications and Contraindications
1. Indications:
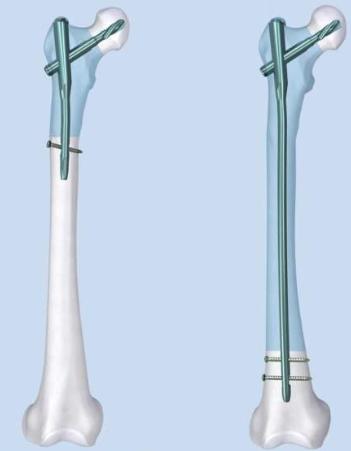
– Midshaft or distal femoral shaft fractures (transverse, short oblique, or spiral).
– Segmental or pathologic fractures.
– Open fractures (Gustilo type I-II).
– Nonunion or malunion.

2. Contraindications:
– Severe osteoporosis or narrow medullary canal (use with caution).
– Proximal fractures involving the intertrochanteric region (consider PFNA).
– Active infection or severe contamination (requires staged management).
II. Preoperative Preparation
1. Imaging Evaluation:
– Preoperative AP/lateral X-rays; CT 3D reconstruction if needed.
– Assess soft tissue integrity (MRI/ultrasound to exclude occult injuries).
2. Equipment:
– Intramedullary nail system (size based on medullary canal), C-arm, traction table, reamers, locking screws.

3. Anesthesia and Positioning:
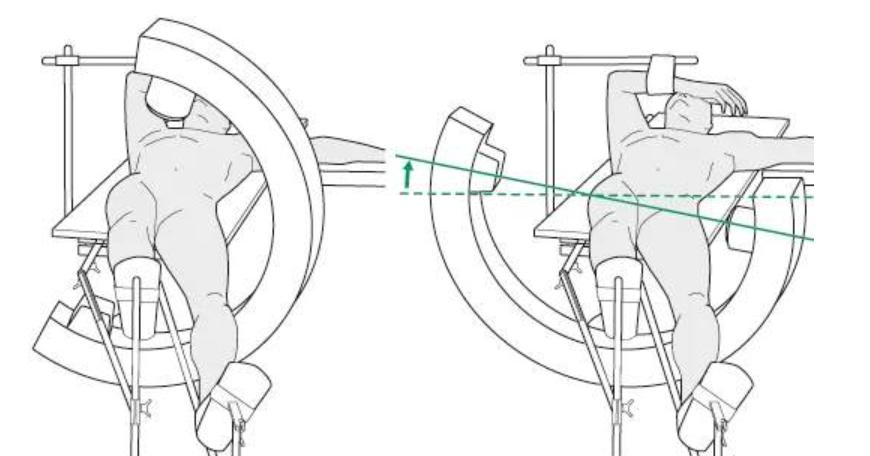
– General or spinal anesthesia; patient supine on a traction table with the affected leg slightly adducted, contralateral leg in lithotomy or abducted position.
– Position C-arm on the unaffected side for intraoperative AP/lateral fluoroscopy.
III. Surgical Steps
1. Closed Reduction:
– Apply traction to restore limb length, correct rotation/angulation (supplement with manual or joystick reduction).
– Confirm alignment under fluoroscopy (AP and lateral views).
2. Approach and Entry Point:
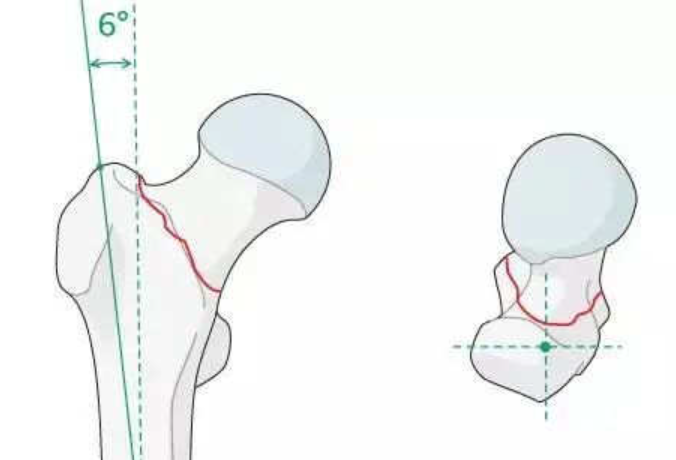
– Proximal approach: Tip of the greater trochanter or piriformis fossa (based on fracture pattern).
– Insert guidewire into the medullary canal after skin incision; confirm position with fluoroscopy.

3. Reaming and Nail Insertion:
– Stepwise reaming (0.5–1 mm increments) to avoid thermal necrosis.
– Select appropriate nail diameter/length; insert gently without forceful manipulation.
4. Locking Screw Fixation:
– Distal locking: Use aiming device or freehand technique (“perfect circle” method).
– Proximal locking: Insert screws via guide; ensure rotational control.
5. Wound Closure:
– Irrigate and close layers; consider drain placement if needed.
IV. Key Technical Points
1. Prioritize Reduction:
– Use mini-open assistance (e.g., bone hook or clamp) if closed reduction fails.
– Verify rotational alignment (compare with contralateral femoral anteversion).
2. Accurate Entry Point:
– Piriformis fossa approach: Avoid medial deviation (risk of femoral neck injury); greater trochanter entry is more common.
3. Prevent Thermal Necrosis:
– Continuous irrigation during reaming; avoid over-reaming (1–1.5 mm larger than medullary canal).
4. Ensure Locking Screw Accuracy:
– Confirm screw passage through nail holes fluoroscopically; avoid neurovascular injury.
V. Postoperative Management
– Early Mobilization: Initiate ankle pumps and knee flexion/extension within 24–48 hours.
– Weight-Bearing Protocol: Progress from partial (2–4 weeks) to full weight-bearing based on fracture stability.
– Complication Prevention:
– Anticoagulation for DVT prophylaxis.
– Monitor for infection (especially in open fractures).
VI. Common Complications
1. Nonunion: Poor reduction or compromised blood supply.
2.Rotational Malalignment: Failure to compare with contralateral femoral anteversion.
3.Implant Failure: Osteoporosis or premature weight-bearing causing screw loosening.
4. Iatrogenic Fracture: Aggressive reaming or forceful nail insertion.
Summary
Successful femoral intramedullary nailing relies on precise reduction, appropriate entry point selection, controlled reaming, and stable locking fixation. Intraoperative fluoroscopy is essential, and early postoperative rehabilitation minimizes complications.
